Keeping your bowling ball clean is crucial for maintaining its performance and extending its lifespan. A well-maintained ball not only rolls better but also helps you achieve more consistent scores. Over time, however, oil, dirt, and grime can accumulate on the surface of your ball, affecting its traction and overall performance.
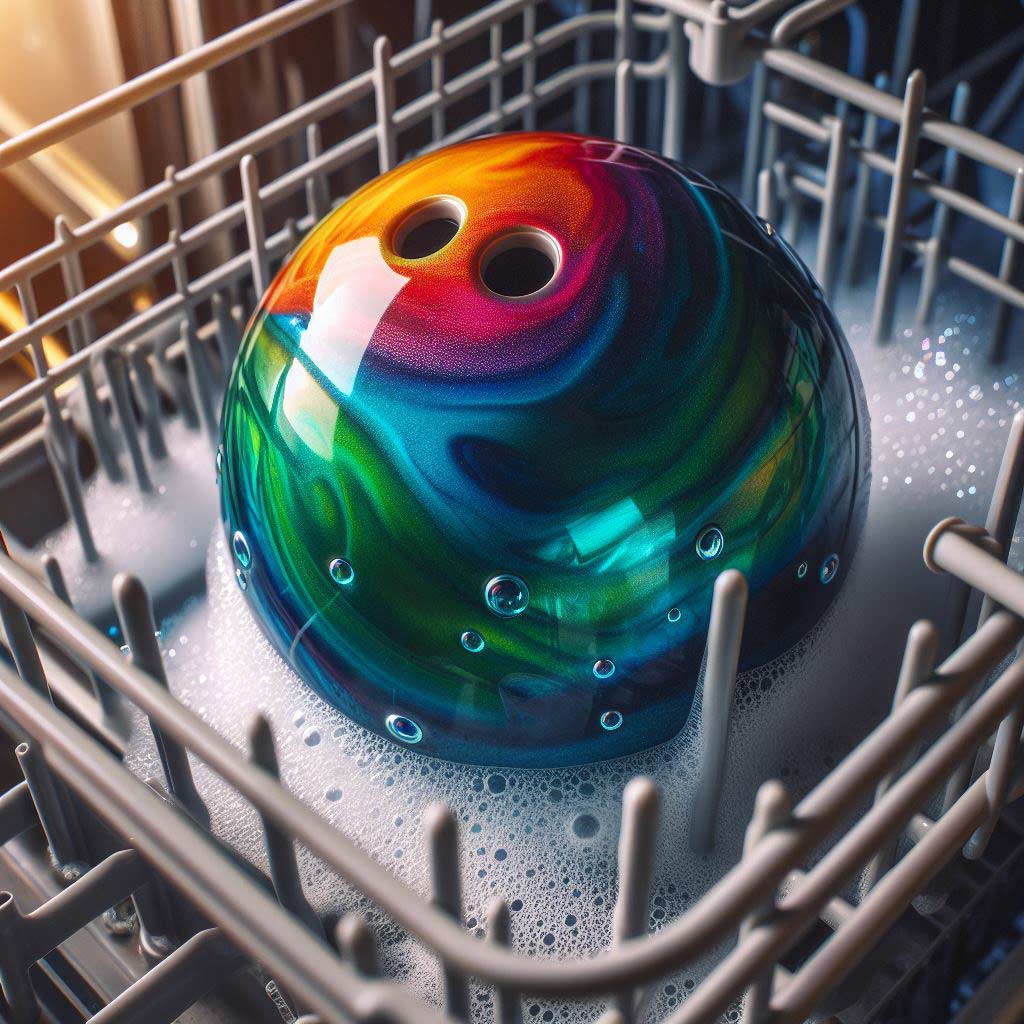
While there are various methods for cleaning bowling balls, using a dishwasher has emerged as a convenient and effective solution for many bowlers. Yes, you read that right – your trusty dishwasher can be a game-changer when it comes to keeping your bowling ball in pristine condition.
In this ultimate guide, we’ll walk you through the step-by-step process of cleaning your bowling ball in the dishwasher, as well as provide valuable tips and considerations to ensure optimal results. So, whether you’re a casual bowler or a seasoned pro, get ready to discover the secret to a spotless ball that will help you up your game.
Step 1: Prepare the Bowling Ball
Before you start the cleaning process, it’s essential to properly prepare your bowling ball to ensure the best results and prevent any potential damage.
- Remove Accessories and Inserts – If your bowling ball has any removable accessories, such as thumb slugs or finger inserts, make sure to take them out before placing the ball in the dishwasher. These components may not be dishwasher-safe and can be damaged or cause issues during the cleaning cycle.
- Inspect for Cracks or Damage – Closely inspect your bowling ball for any cracks, chips, or other visible damage. Running a damaged ball through the dishwasher can potentially worsen the issue, leading to further degradation or even complete destruction of the ball. If you notice any significant damage, it’s best to avoid cleaning it in the dishwasher and seek professional assistance instead.
- Wipe Off Excess Oil and Dirt – While the dishwasher will do most of the heavy lifting, it’s a good idea to give your bowling ball a quick wipe-down with a clean, dry cloth or paper towel. This will help remove any excess oil, dirt, or debris from the surface, allowing the dishwasher to more effectively clean the ball.
Step 2: Set Up the Dishwasher
Once your bowling ball is prepared, it’s time to get your dishwasher ready for the cleaning process. Here’s how you can set it up:
- Adjust the Dishwasher Racks – Most standard dishwashers should have enough space to accommodate a bowling ball, but you may need to adjust the racks or remove some sections to create enough clearance. Make sure the ball can sit securely without moving around or obstructing the water jets during the cycle.
- Place the Bowling Ball in the Dishwasher – Carefully place your bowling ball in the dishwasher, positioning it in a way that allows for optimal water and detergent coverage. You may want to consider placing it on the bottom rack or in the utensil basket, depending on the size and configuration of your dishwasher.
- Add a Dishwasher-Safe Cleaner – While regular dish detergent can do the job, using a cleaner specifically designed for bowling ball care can yield even better results. Look for dishwasher-safe cleaning products formulated to remove oil, dirt, and buildup from bowling balls without damaging the surface or affecting the ball’s reaction.
Step 3: Choose the Right Dishwasher Cycle
Once your bowling ball and dishwasher are ready, it’s time to select the appropriate cycle for cleaning. Here are some recommendations:
- Normal or Heavy-Duty Cycle – For most bowling balls, a regular normal or heavy-duty cycle should suffice. These cycles typically use higher water temperatures and longer wash times, which can help break down and remove stubborn dirt and oil buildup.
- Sanitize Cycle (Optional) – If your dishwasher has a sanitize cycle option, you may want to consider using it for an extra deep clean. This cycle typically reaches higher temperatures, which can be beneficial for thoroughly sanitizing and disinfecting your bowling ball.
- Heated Drying (Optional) – While not strictly necessary, enabling the heated drying option can help ensure that your bowling ball is completely dry after the cycle is complete. This can prevent any potential water spots or residue from forming on the surface.
Step 4: Post-Cleaning Care
After the dishwasher cycle has finished, it’s time to retrieve your freshly cleaned bowling ball and prepare it for its next use. Follow these post-cleaning steps:
- Remove the Bowling Ball from the Dishwasher – Carefully take your bowling ball out of the dishwasher, being mindful of the potentially hot surfaces or water.
- Dry the Ball Thoroughly – Use a clean, microfiber towel to thoroughly dry the surface of your bowling ball. Make sure to remove any remaining moisture, as leaving water spots or residue can affect the ball’s performance and reaction.
- Inspect and Address Any Remaining Dirt or Residue – Closely examine your bowling ball for any remaining dirt, oil, or residue that may have been missed during the dishwasher cycle. If you notice any stubborn spots, you can use a mild, ball-safe cleaner and a soft cloth or brush to gently remove them.
- Consider Polishing or Resurfacing – Depending on the condition of your ball and your personal preferences, you may want to consider polishing or resurfacing it after a thorough cleaning. This can help restore the ball’s original shine and surface texture, potentially improving its performance.
Additional Tips and Considerations:
Frequency of Cleaning
How often you should clean your bowling ball in the dishwasher will depend on your usage and the conditions you bowl in. As a general guideline, it’s recommended to clean your ball after every few games or at least once a month if you bowl regularly. This will help maintain optimal performance and prevent excessive buildup of oil and dirt.
Cautions and Warnings
While cleaning your bowling ball in the dishwasher can be a safe and effective method, it’s important to exercise caution and follow best practices:
- Avoid using abrasive cleaners or harsh chemicals, as they can damage the ball’s surface or reactive properties.
- Do not expose your bowling ball to extremely high heat settings or cycles, as excessive heat can warp or degrade the ball’s materials.
- Be mindful of the potential for water spots or residue if the ball is not properly dried after the cycle.
- Always inspect your ball for any cracks, chips, or damage before and after cleaning to prevent further issues.
Alternative Cleaning Methods
While the dishwasher method can be convenient and effective, it’s not the only way to clean your bowling ball. Other options include:
- Hand-washing: Using a mild soap or ball cleaner, warm water, and a soft cloth or brush to gently clean the ball’s surface.
- Ball cleaning machines: Many bowling alleys have specialized machines designed to clean and revive bowling balls using various cleaning solutions and techniques.
- Professional resurfacing: For a deeper clean or to restore the ball’s surface texture, you can have it professionally resurfaced by a pro shop or bowling ball manufacturer.
Maintaining Proper Ball Storage and Handling
Proper care and maintenance don’t stop after cleaning your bowling ball. To ensure its longevity and optimal performance, it’s essential to follow best practices for ball storage and handling:
- Store your ball in a cool, dry place, away from direct sunlight or extreme temperatures.
- Use a ball case or bag to protect your ball during transportation and prevent scratches or damage.
- Avoid exposing your ball to harsh chemicals, solvents, or cleaners not specifically designed for bowling ball care.
- Handle your ball gently and avoid dropping or mishandling it, as this can cause internal damage or cracks.
Conclusion:
Cleaning your bowling ball in the dishwasher can be a game-changer for maintaining its performance and extending its lifespan. By following the step-by-step process outlined in this guide, you can easily achieve a spotless ball that rolls better and helps you achieve more consistent scores.
Remember, preparation is key – ensure your ball is free of accessories and check for any damage before starting the cleaning process. Set up your dishwasher properly, choose the right cycle, and follow the post-cleaning care steps to ensure optimal results.
Don’t be afraid to experiment with different cleaning methods or seek professional assistance if needed. Maintaining your bowling ball is an investment in your game, and a clean ball can make all the difference in your performance on the lanes.