Maintaining the cleanliness of your bowling ball is crucial for optimal performance and longevity. Over time, your ball can accumulate dirt, oil, and other debris from the bowling alley, which can affect its grip, hook, and overall handling. While there are commercial bowling ball cleaners available, these products can be expensive and filled with harsh chemicals.
The good news is that you can effectively clean your bowling ball using common household products. In this comprehensive guide, we’ll walk you through the step-by-step process of cleaning your bowling ball with simple, cost-effective ingredients. Not only will this save you money, but it will also ensure that your ball remains in top condition without exposing it to harsh chemical treatments.
Necessary Supplies
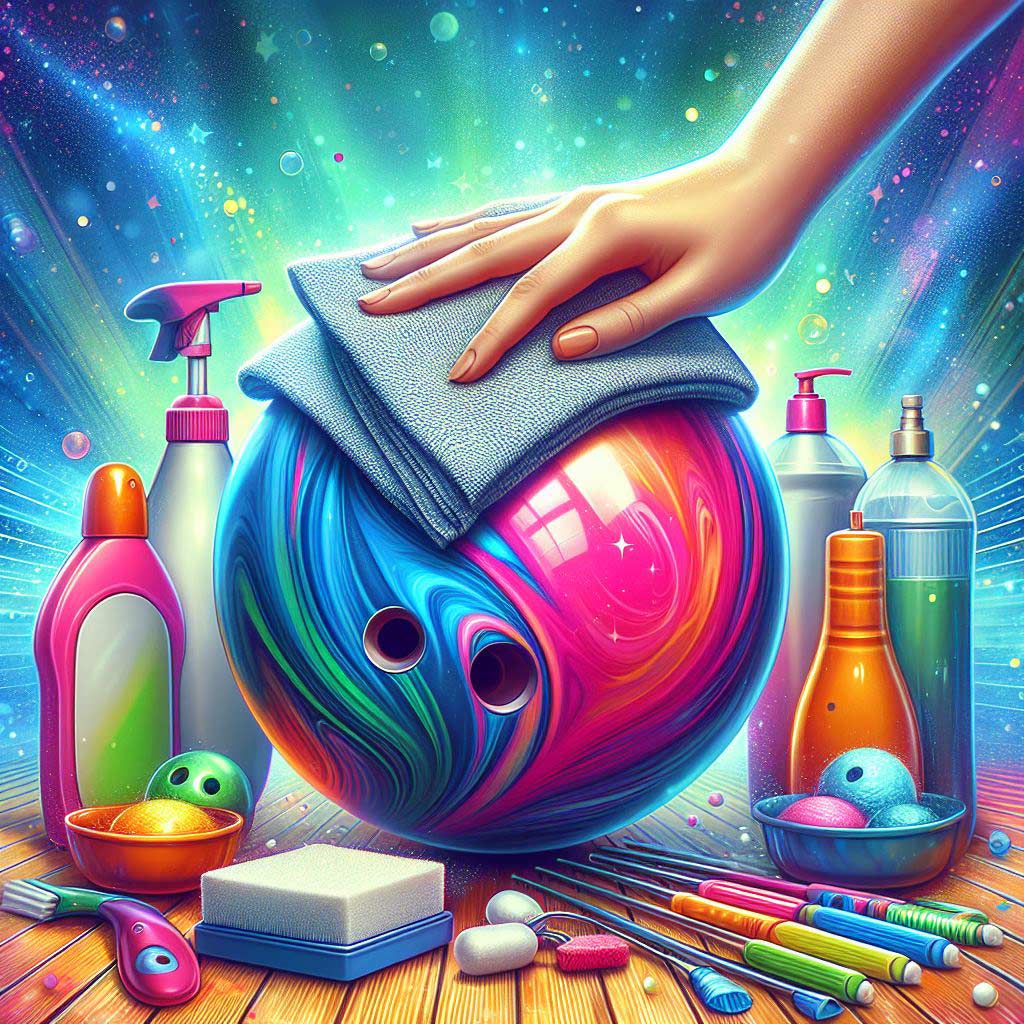
Before we dive into the cleaning process, let’s gather the necessary supplies. Fortunately, you likely already have most of these items in your home:
- Dish Soap: A mild, liquid dish soap is an excellent degreasing agent and will help remove built-up oil and grime from your bowling ball.
- Warm Water: Warm water helps to dissolve and lift dirt and debris from the ball’s surface.
- Microfiber Cloth: A soft, lint-free microfiber cloth is ideal for wiping down and polishing the ball without scratching the surface.
- Old Toothbrush: An old, soft-bristled toothbrush can be used to gently scrub the finger holes and other hard-to-reach areas.
- Baking Soda: Baking soda is a gentle abrasive that can help remove stubborn stains and provide a polished finish to your bowling ball.
- Vinegar: White vinegar, when combined with water, can help remove any remaining residue and provide a final shine to your ball.
With these simple household items, you’ll be well on your way to restoring your bowling ball to its former glory.
Step-by-Step Cleaning Process
Now that you’ve gathered your supplies, let’s dive into the step-by-step process for cleaning your bowling ball with household products.
Step 1: Gather Your Supplies
Before you begin, make sure you have all the necessary items within reach. This will ensure a smooth and efficient cleaning process.
Step 2: Create a Soapy Solution
In a large bucket or sink, mix warm water with a few drops of mild dish soap. Stir the solution gently to create a sudsy mixture.
Step 3: Wipe Down the Ball
Dip your microfiber cloth into the soapy water and gently wipe down the entire surface of the bowling ball. Use circular motions to lift and remove any accumulated dirt, oil, or grime.
Step 4: Scrub the Finger Holes
Take your old toothbrush and use it to lightly scrub the finger holes and any other hard-to-reach areas of the ball. Be gentle to avoid damaging the ball’s surface.
Step 5: Rinse the Ball
Once you’ve thoroughly wiped down the ball and scrubbed the finger holes, it’s time to rinse off any remaining soap residue. Hold the ball under clean, running water, making sure to remove all traces of the soapy solution.
Step 6: Create a Baking Soda Paste
In a small bowl, mix a small amount of baking soda with just enough water to form a thick, spreadable paste.
Step 7: Polish the Ball
Use a clean, dry microfiber cloth to apply the baking soda paste to the ball’s surface. Gently rub the paste in circular motions to help remove any stubborn stains or discoloration. Let the paste sit for a few minutes before rinsing it off.
Step 8: Vinegar Rinse
As a final step, create a 50/50 solution of white vinegar and water. Use a clean microfiber cloth to wipe down the ball with this solution, which will help remove any remaining residue and provide a brilliant shine.
Step 9: Dry the Ball
Thoroughly dry the bowling ball using a clean, dry microfiber cloth. Make sure to pay attention to the finger holes and other hard-to-reach areas to ensure the ball is completely moisture-free.
Step 10: Store the Ball Properly
Once your bowling ball is clean and dry, store it in a cool, dry place until your next game or practice session. Proper storage will help maintain the ball’s condition and prevent any additional buildup of dirt or oil.
By following these simple steps, you can effectively clean your bowling ball using only common household products. This method is not only cost-effective but also gentle on the ball’s surface, ensuring it remains in top condition for many games to come.
Drying and Maintaining the Ball
After completing the cleaning process, it’s essential to properly dry and store your bowling ball to maintain its condition.
Drying the Ball
Once you’ve rinsed the ball with the vinegar solution, use a clean, dry microfiber cloth to thoroughly dry the entire surface. Pay special attention to the finger holes and other hard-to-reach areas, making sure there is no residual moisture left behind.
Storing the Ball
Store your cleaned bowling ball in a cool, dry place until your next game or practice session. Avoid exposing the ball to extreme temperatures, humidity, or direct sunlight, as these conditions can cause the ball to warp or deteriorate over time.
Maintaining the Ball
To keep your bowling ball in top shape, repeat this cleaning process every 4-6 weeks. Regular maintenance will help prevent the buildup of dirt, oil, and other debris, ensuring your ball performs consistently and lasts for years to come.
Benefits of Cleaning with Household Products
Cleaning your bowling ball with household products offers several advantages over using commercial cleaners:
- Cost-Effective: The supplies needed for this cleaning method are readily available and inexpensive, saving you money compared to purchasing specialized bowling ball cleaners.
- Gentle on the Ball: Household products like dish soap, baking soda, and vinegar are gentle on the ball’s surface, unlike some commercial cleaners that can be too abrasive and potentially damage the ball over time.
- Environmentally Friendly: By using natural, biodegradable ingredients, you’re reducing your environmental impact and avoiding the use of harsh chemicals.
- Versatile: The same cleaning process can be used on a variety of bowling ball surfaces and materials, including polyester, urethane, and reactive resin balls.
- Improved Performance: A clean bowling ball grips the lane better, hooks more consistently, and provides a more predictable and controlled roll, ultimately enhancing your overall bowling performance.
By taking the time to clean your bowling ball with these household products, you’re not only saving money but also ensuring the long-term health and performance of your valued equipment.
Conclusion
Properly maintaining your bowling ball is essential for keeping it in optimal condition and ensuring consistent performance on the lanes. By using common household products like dish soap, baking soda, and vinegar, you can effectively clean your ball without relying on expensive commercial cleaners.
In this guide, we’ve outlined a comprehensive step-by-step process for cleaning your bowling ball at home. From gathering the necessary supplies to drying and storing the ball, we’ve covered all the essential steps to help you maintain your equipment and save money in the process.
Remember to repeat this cleaning process every 4-6 weeks to keep your bowling ball in top shape. With a little elbow grease and some simple household items, you can ensure your ball performs at its best for years to come.
So, what are you waiting for? Gather your supplies and get to cleaning! Your bowling game (and your wallet) will thank you.